
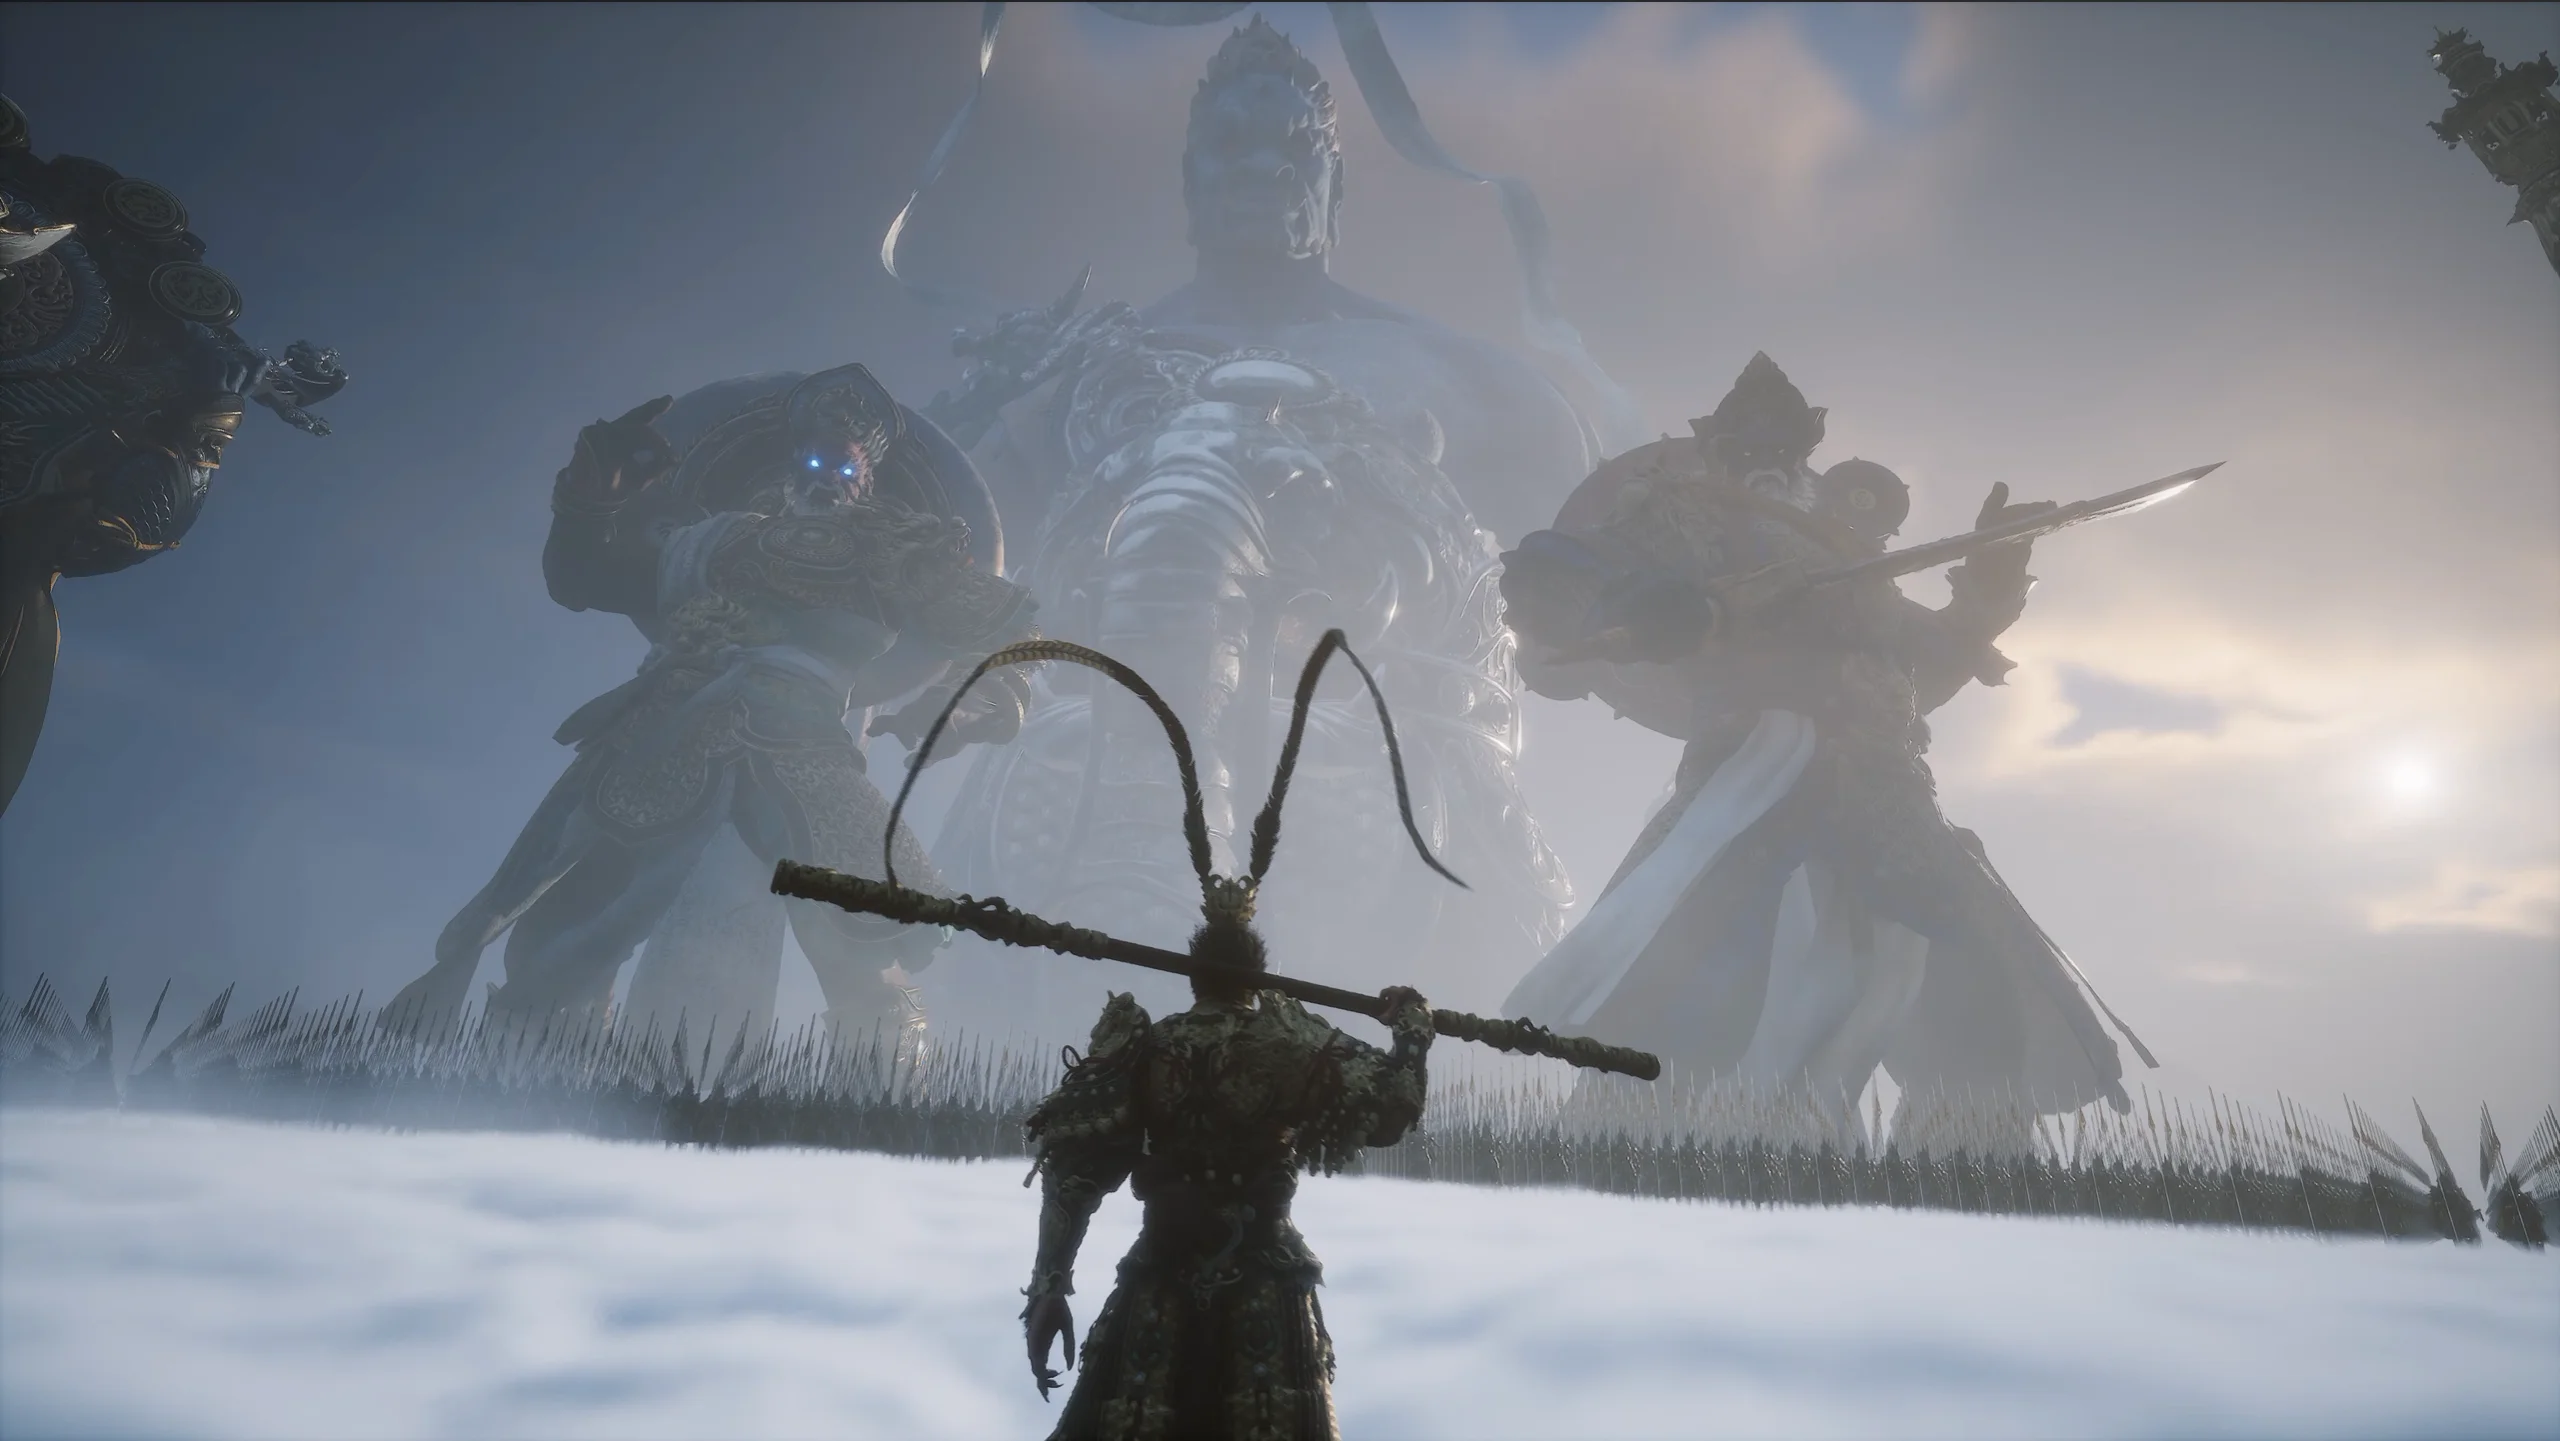
Here's a complete guide to Chapter 1, including how to unlock the Ancient Guanyin Temple.
Chapter 1 of Black Myth: Wukong — Black Cloud, Red Fire — drops you into Black Wind Mountain with a staff, no map, and wolves immediately in your face. It's a chapter that doesn't ease you in so much as throw you straight into the deep end. You'll learn to dodge properly, pick up your first spells, discover that Spirits can turn a losing fight around, and eventually stumble into a secret temple that most players walk straight past their first time through.
This guide covers everything in the order you'll encounter it — every boss, every bell, every missable worth going out of your way for.
Our Black Myth: Wukong walkthrough hub has links to all of our guides. You can also navigate between chapter walkthroughs below:
Chapter 1 walkthrough (you're here!)
Chapter 1 is divided into the following areas — click to jump to each section:
Ancient Guanyin Temple: Grand Chamber (optional)
You should also check out our guide to all Chapter 1 bosses for more detailed strategies on every fight in your path. You can also use our Chapter 1 map to keep track of your surroundings and any bosses or collectibles you may have missed.
Prologue
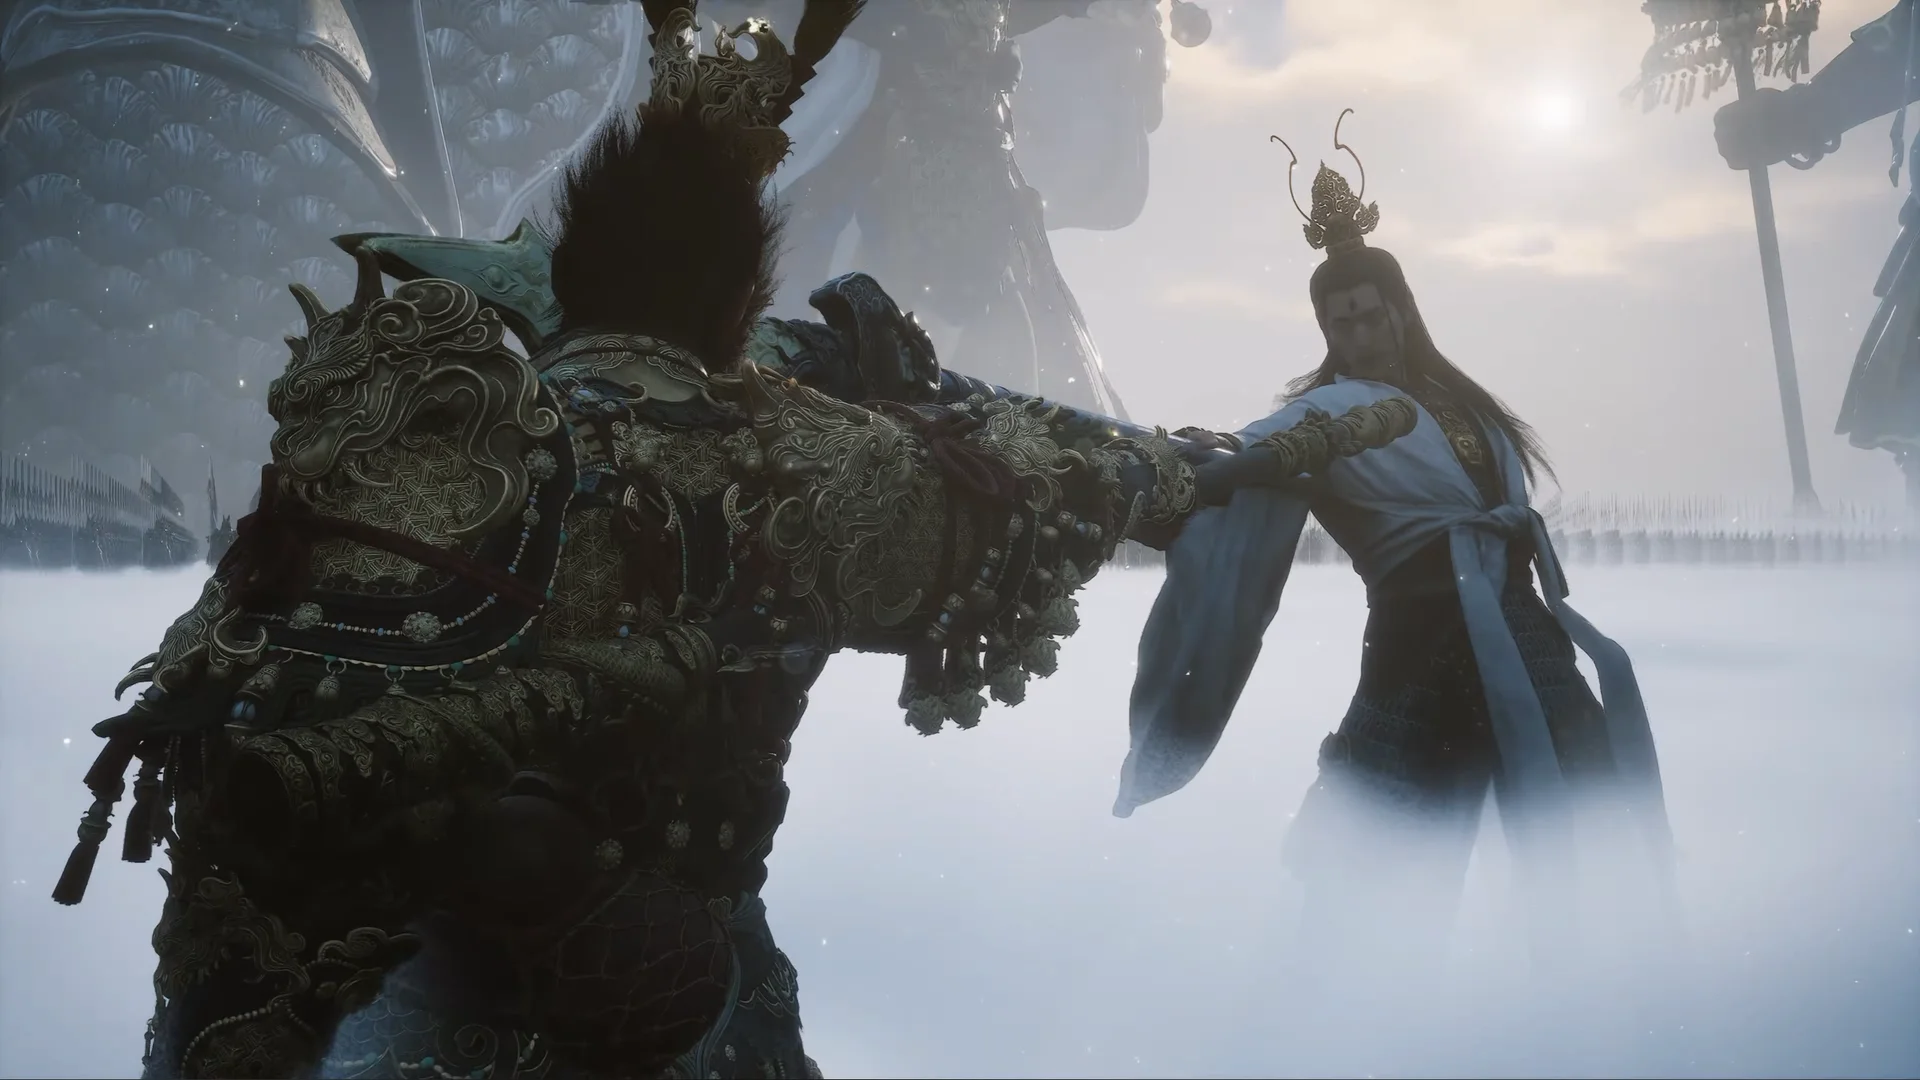
Before Chapter 1 even begins, the game hands you Sun Wukong himself — the Monkey King at the absolute peak of his power — and asks you to fight the gods of Heaven. You're up against Erlang Shen and his divine army, and the fight is designed to be unwinnable. There's no health bar on your end, so nothing you do here can go wrong.
What the prologue is actually doing is teaching you the rhythm of the staff: light attacks, charged heavies, dodging through incoming strikes. Pay attention to how charged attacks feel after building Focus — that same loop is what carries you through the entire game. The battle ends the way it was always going to, with Sun Wukong sealed inside a stone egg and his power scattered across the world. That's the story Chapter 1 picks up from.
Erlang does come back. Chapter 6 is a long way off, but the rematch is waiting.
Forest of Wolves: Front Hills
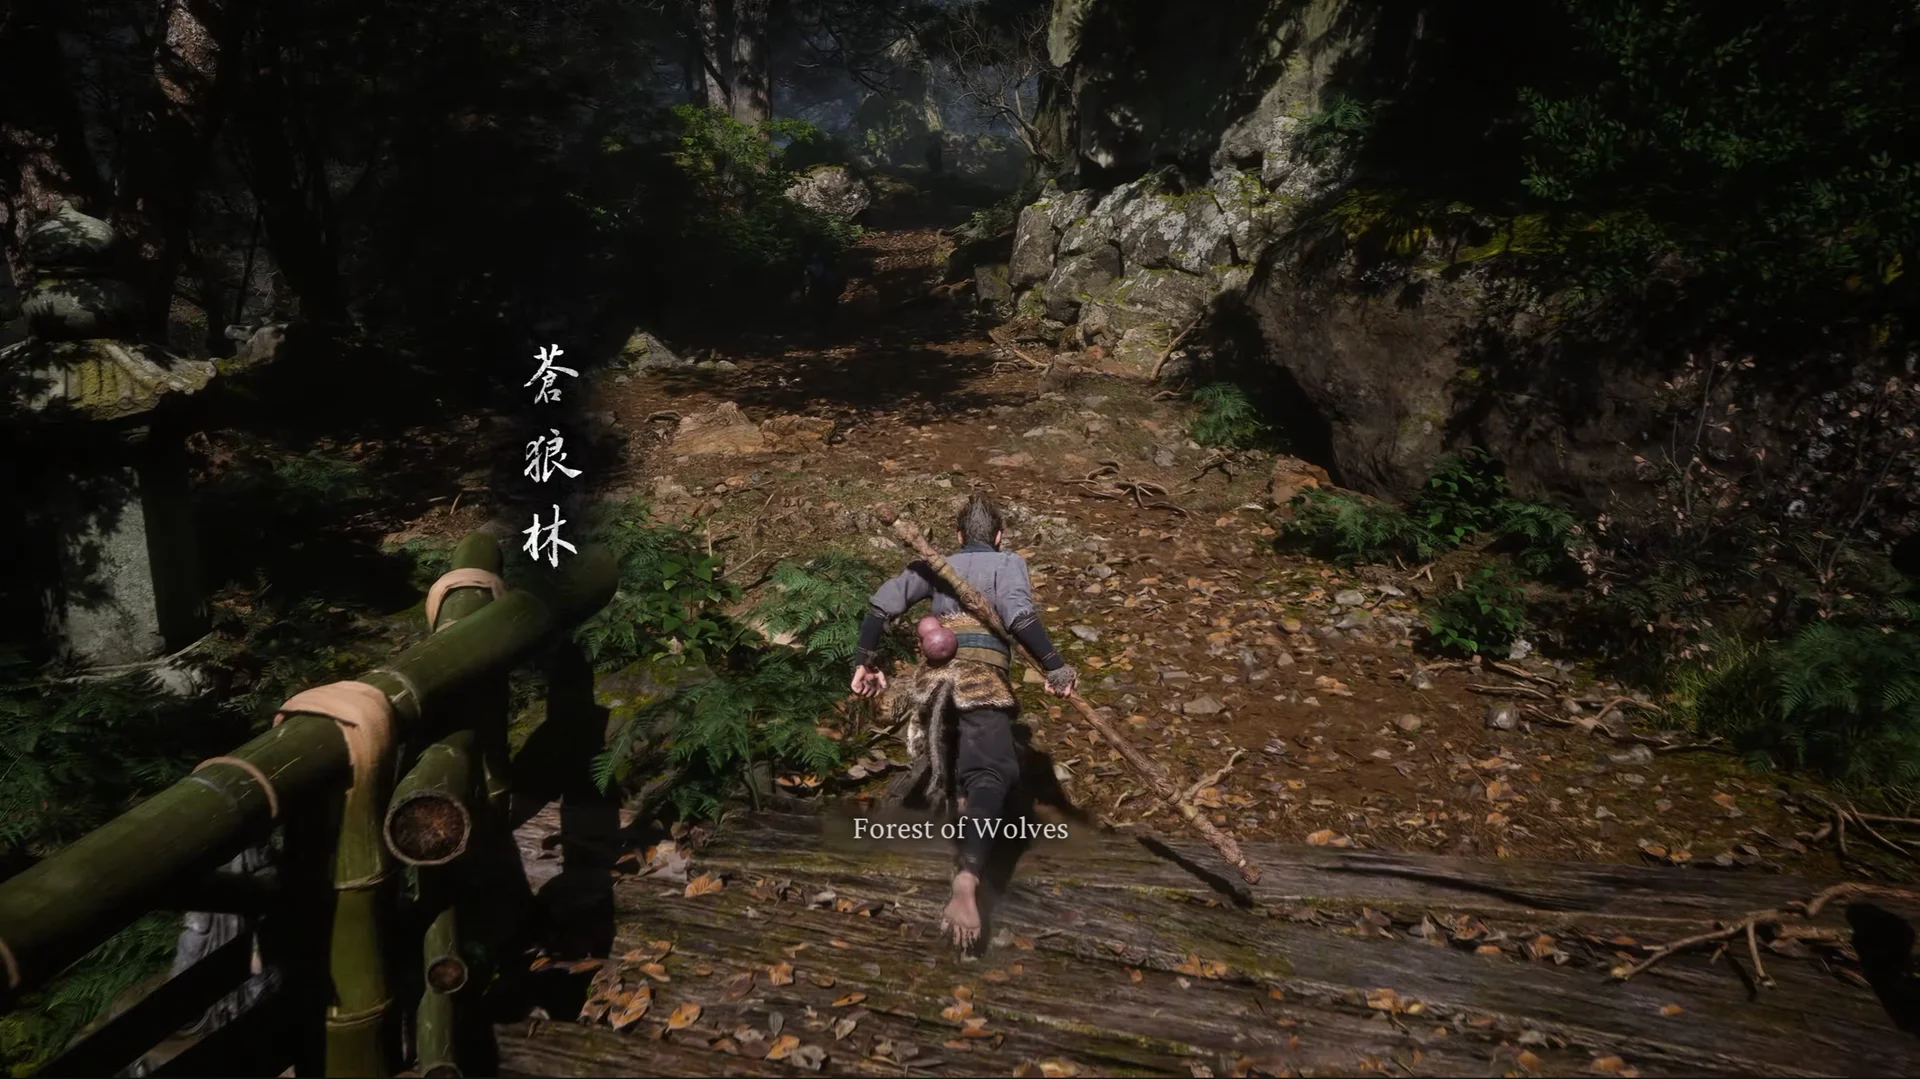
The Destined One arrives disguised as a peach — two wolf scouts try to grab it and get a rude awakening. Clear them both, head up the path, and take the left fork at the top for a chest with Tiny Piece of Gold ×2 and Yarn ×3. Defeat the Wolf Stalwart on the right to unlock the Front Hills Keeper's Shrine — your first checkpoint in the game.
From the shrine, interact with it again if you have a Deluxe Edition to claim your bonus items. Then follow the path forward through the forest. Cross the bridge and keep going — if you want to explore the river below, jump down to find some Jade Lotus and a Crow Diviner, a tougher enemy worth a few attempts. Back on the main path, just past where the bridge meets solid ground, look for a round stone head near the waterfall guarded by a macaque. Interact with it to collect the Skandha of Form — the first of several key items scattered across the game's chapters that will eventually unlock a powerful upgrade. Our Skandha locations guide has more detail on all of them.
When you're ready, continue forward to Bullguard's arena.
Bullguard
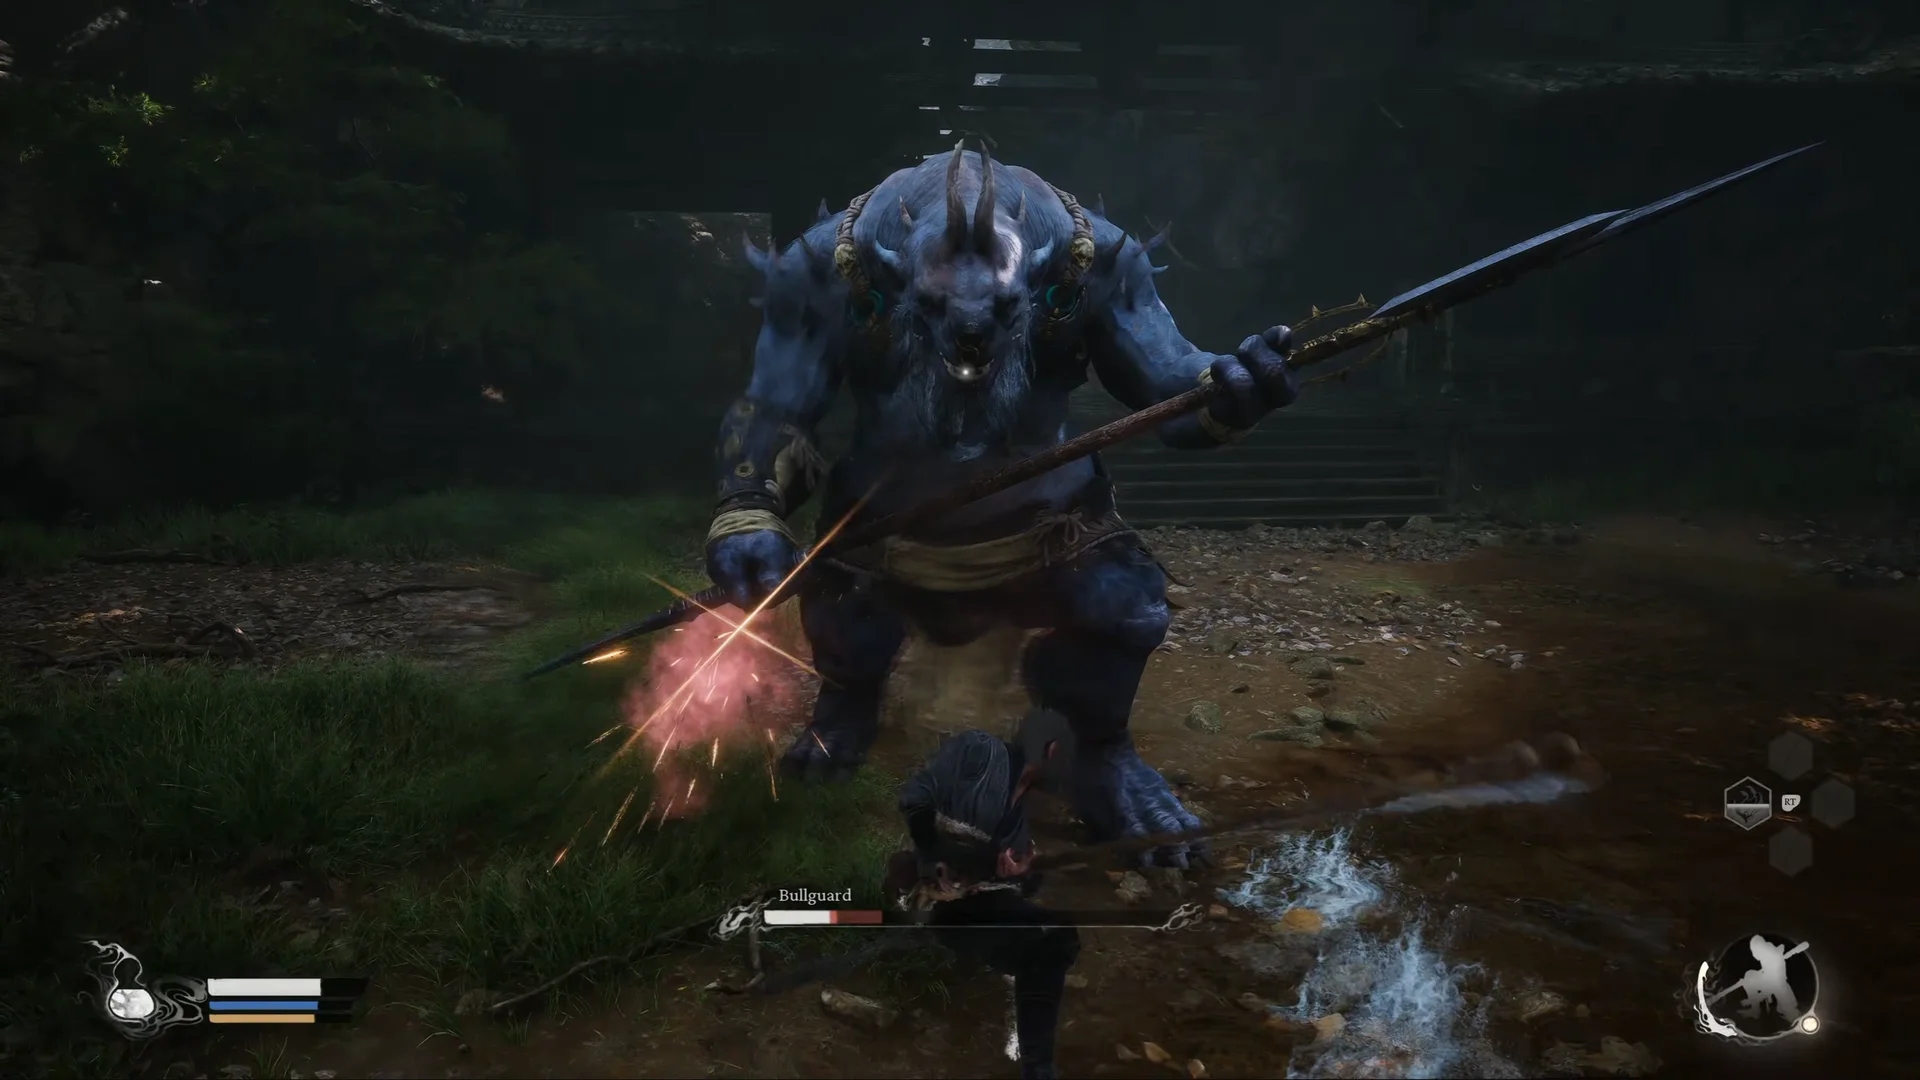
Bullguard is the game's first proper boss and more of a teaching moment than a genuine threat. He's slow and heavily telegraphed — dodge his swings sideways and punish the long recovery. At half health, a cutscene fires and you receive the Immobilize spell automatically. Use it immediately: freeze him, build Focus with light attacks, and finish him with a charged heavy.
After the fight, go through the gate and take the left path at the fork. Follow the slope upward past more wolves, pick up the Aged Ginseng near the stone pillar, and you'll reach a large wooden balcony overlooking the temple below. There's an orange pillow on the ground here — interact with it for Meditation Spot 1 (The Arbor), which awards a free Spark skill point. Don't miss it; it's easy to walk straight past. Go through the nearby cave to reach the Outside the Forest Keeper's Shrine. Our guide to all Meditation Spots shows every location across all six chapters.
Forest of Wolves: Outside the Forest
After resting at the Outside the Forest shrine, a brief cutscene transforms you into a golden cicada to scout the surrounding area. When you're back in control the area opens up — there are two optional bosses here and a path leading to Guanyin Temple. Do both optional fights before moving on.
Wandering Wight
[IMAGE: Wandering Wight patrolling the clearing — large turquoise-coloured enemy with an oversized head, forest behind him]
Head straight across the bridge from the shrine. The large turquoise creature patrolling the clearing is the Wandering Wight — the first genuinely challenging boss in the chapter.
⚠️ Fight him before you ring all three bells. The Wandering Wight disappears once the secret boss Elder Jinchi is defeated — and if you're chasing trophies, skipping him costs you several until you replay in New Game+. Don't leave him until later and forget.
He hits hard but moves slowly. Dodge his ground slams sideways, punish the long recovery, and use Immobilize to extend your damage windows. His Spirit — unlocked after the fight — is one of the best in Chapter 1, particularly devastating against the Whiteclad Noble and the final boss. If the game tells you "Cannot absorb Spirits without guidance" after the fight, don't worry. You'll receive the Blessed Gourd shortly, and the Spirit will be sitting in any shrine's Retrieve Spirits menu waiting for you.
For a full strategy, see our Wandering Wight boss guide.
Guangzhi
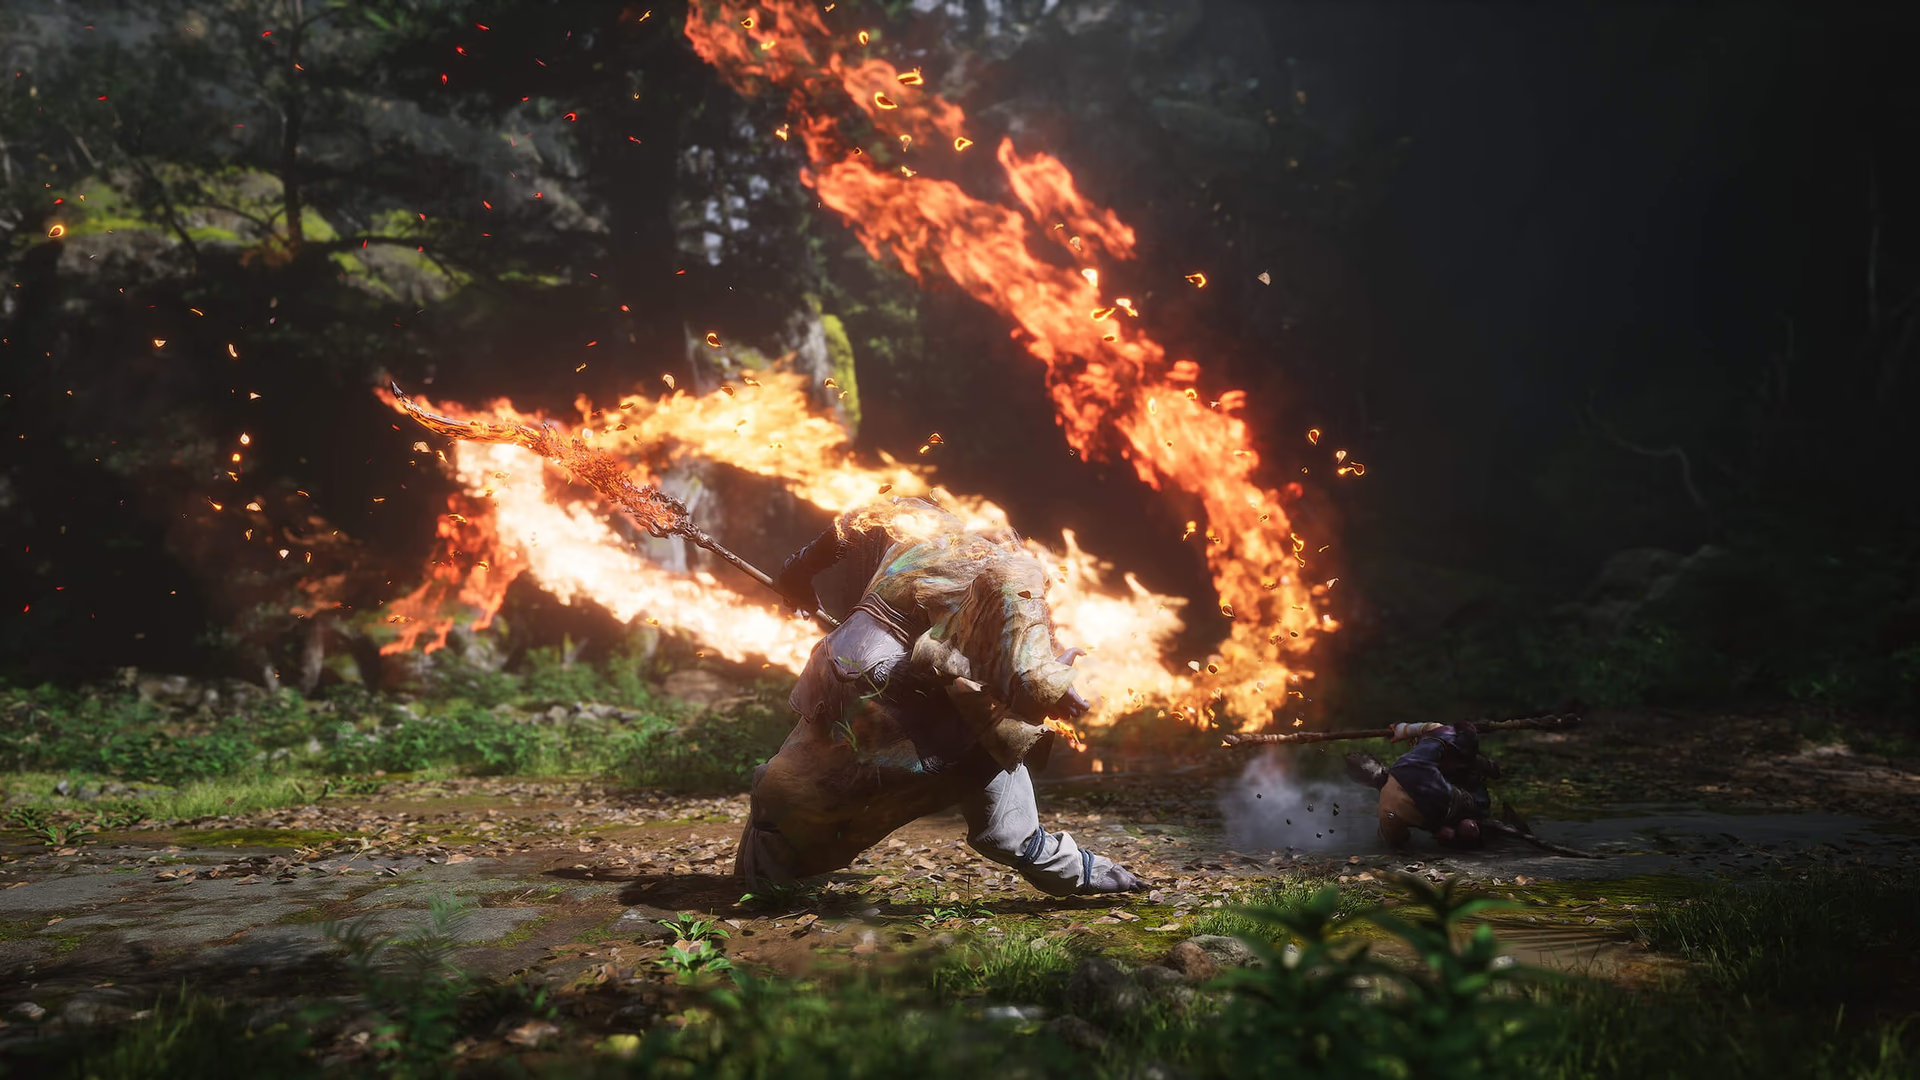
Head back to the Outside the Forest shrine and take the left path past two wolf guards. Follow the dirt track to a chest, cross the wooden bridge, and follow the torches through the gate into Guangzhi's arena.
Guangzhi is fast and aggressive, wielding a flame glaive with a tricky two-hit boomerang throw — the glaive travels out and returns, hitting twice, so dodge twice when you see him wind up. Stay aggressive, use Immobilize when he plants the glaive to channel his fire burst, and that's your clearest damage window. When he's down, you'll unlock the Red Tides Transformation, which lets you become Guangzhi and deal heavy fire damage. Use it generously for the rest of the chapter — it's one of the most useful early tools in the game.
⚠️ Before you leave the arena, turn around. Bell #1 is right behind you at the treeline. Ring it before going anywhere else — this is the most commonly missed step in all of Chapter 1. Our three bell locations guide covers all three if you need them.
For a full breakdown, see our Guangzhi boss guide.
Also in this area: near the Outside the Forest shrine, look for a large waterfall marked by a Buddha statue. This is the entrance to Red Loong — a secret dragon boss — but it's sealed until you obtain the Loong Scale from Chapter 2. We cover this in the Red Loong section at the bottom of this guide.
Forest of Wolves: Guanyin Temple
Head back past where Wandering Wight was, cross the bridge, and follow the wooden platform path down to the Guanyin Temple Keeper's Shrine. Rest up and loot the chest to the left of the shrine before heading inside.
Lingxuzi
[IMAGE: Lingxuzi dropping from the Guanyin Temple rooftop — grey wolf form mid-lunge, temple courtyard visible below]
As you move deeper into the temple, Lingxuzi drops from the rooftops — the first Yaoguai King of the chapter. He fights like a predator, favouring forward lunges and wide claw sweeps. His most deceptive attack is a single wide swipe with a slow, deliberate wind-up — most players dodge too early and walk right into it. Wait for the actual arm release before committing to your dodge. Red Tides transformation works extremely well here and can strip a large chunk of his health before he gets going.
After the fight, collect the chest in the corner of the arena and — importantly — look to the left at the top of the stairs inside the temple for a pot containing a Celestial Jade Lotus Pill, which permanently increases your maximum HP. Don't miss it. Then exit via the rear of the temple.
For more detail, see our Lingxuzi boss guide.
Bamboo Grove: Back Hills
[IMAGE: Back Hills Keeper's Shrine — dense bamboo stalks in every direction, the shift from forest to grove immediately apparent]
Activate the Back Hills Keeper's Shrine as soon as you exit the temple. Then head downhill and look to the left side — there's a narrow cave entrance marked by two unlit torches. Head inside.
You'll find Horse Guai (Ma Tianba) resting near an altar. Talk to him and exhaust all his dialogue. He appears in each of the game's first five chapters, and speaking to him here is required for his questline to register correctly later. While you're in the cave, interact with the Meditation Spot (The Cavern) in the centre for another free Spark.
Back outside, follow the main path down. You can jump into the water for some Will, but to progress head up the stairs and cross the bridge. Open the chest in the gazebo along the way for medicines, then continue to the Snake Trail area.
Bamboo Grove: Snake Trail
Right before the Snake Trail Keeper's Shrine is a Crow Diviner — defeat it, then activate the shrine and rest. Climb the stairs above the shrine and you'll find an old man in a small alcove — this is Yuan Shoucheng, who gives you the Blessed Gourd and teaches you to cultivate Spirits. This is the moment Spirit absorption becomes available. Head straight back to the shrine and select Retrieve Spirits to collect the Wandering Wight Spirit if you defeated him earlier.
Baw-Li-Guhh-Lang *(optional)*
[IMAGE: Baw-Li-Guhh-Lang at the riverside clearing — colossal toad, Croaky enemies visible in the surrounding water]
Cross the nearby bridge and follow the path to a wooden sloped platform. Jump off to the right into the river below and head into the large open area to find Baw-Li-Guhh-Lang — a colossal optional frog boss. Clear the smaller Croaky frogs before engaging him or they'll interrupt mid-fight. His tongue lash has far more range than it looks — dodge backwards when you see him wind up. Immobilize and Red Tides both work cleanly here.
His Spirit is worth grabbing. After the fight, retrace your steps back to the main path. For more detail, see our Baw-Li-Guhh-Lang boss guide.
Guangmou
[IMAGE: Guangmou hovering in his arena — poison orbs swirling around him, bamboo torches flanking the entrance gap]
Follow the main path east through a large circular clearing full of Snake Patrollers and Skeletal Snakes lying in wait. Move carefully — they apply poison on hit, and several Fungilings disguised as mushrooms will ambush you if you step too close. At the north end, take the narrow dirt path marked by torches and statues to reach Guangmou.
Guangmou floats, teleports constantly, and fills the arena with poison. Kill the snakes he summons immediately — they disrupt your rhythm and your lock-on. Stay at close range to limit his teleport options, Immobilize him when he reappears, and pile on damage with Red Tides. Activating Red Tides during this fight also triggers unique dialogue.
Ring Bell #2 before heading to the shrine. It's up the small staircase directly behind Guangmou's arena. Ring it first, then take the right-hand staircase to the Marsh of White Mist shrine.
For more detail, see our Guangmou boss guide.
Bamboo Grove: Marsh of White Mist
Activate the Marsh of White Mist Keeper's Shrine and look behind the rocks nearby for a Luojia Fragrant Vine hanging from a tree — a Gourd upgrade material most players miss on their first pass. Pick it up.
Follow the platforms downward. A Snake Patroller is attacking a monkey on the path — defeat it to rescue the Shen Monkey, who guides you into a cave where he sells Gourd upgrades and Drinks. Upgrade here before continuing. Then follow the platforms down, grab Snake-Head Mushrooms ×2 on the right, and drop into the shallow marsh below.
Whiteclad Noble
[IMAGE: Whiteclad Noble Phase 1 — white-robed figure with spear raised, standing in the shallow marsh water]
The figure in white robes at the far end of the marsh is the Whiteclad Noble — the hardest mandatory fight in Chapter 1. Two health bars, two completely different forms. Come prepared.
If you're struggling, don't force it — this is the fight where a lot of players hit a wall. Make sure you've cleared both optional bosses in Bamboo Grove first (Baw-Li-Guhh-Lang and Guangmou) for their Spirits, upgrade your Gourd with Shen Monkey if you haven't already, and don't be afraid to back out and grind Will on nearby enemies for a level or two before trying again.
In Phase 1 he fights with a spear: quick horizontal swings followed by a delayed thrust, a spear throw that returns like a boomerang, and a water arc sweep you can cancel by spinning your staff. Stay at mid-range, dodge each hit individually, and only punish after confirmed openings. When below half health, chain Immobilize into Wandering Wight Spirit into Red Tides — that sequence in quick succession is the fastest way to close out Phase 1.
When Phase 1 health hits zero, he transforms into a serpentine form and the health bar resets completely. Phase 2 is faster and adds diagonal water waves and a dangerous tail sweep. Same fundamentals: be patient, don't get greedy, wait for openings.
After the fight, go left rather than following the main exit.
⚠️ Bell #3 is to the left of this arena, through a flooded ravine. Defeat the wolves around it and ring the bell — this is what sends you to the Ancient Guanyin Temple. Our three bell locations guide has the exact path if you need it.
For a full strategy, see our Whiteclad Noble boss guide.
Ancient Guanyin Temple: Grand Chamber *(optional)*
[IMAGE: Ancient Guanyin Temple exterior — the same temple from earlier in the chapter, now locked in the past, withered trees and candlelight]
Ringing all three bells sends you to a past version of the Guanyin Temple — the same place you passed through in the Forest of Wolves, now dark, withered, and wrong. Head up the stairs, open the three chests to the right of the shrine to collect Guanyin's Prayer Beads and Stone Spirits, then activate the Grand Chamber Keeper's Shrine and head inside.
Elder Jinchi
[IMAGE: Elder Jinchi in the Grand Chamber — large-headed robed figure, monk corpses scattered around the arena]
Elder Jinchi moves much like the Wandering Wight — they share a story connection the chapter reveals — but he hits harder and has one mechanic the Wight doesn't: he floats upward and absorbs nearby monk corpses to restore his health. The moment he rises, stop attacking him and kill every corpse you can reach. Each one he absorbs is meaningful health back.
Outside those phases, the fight is straightforward. Dodge slams sideways, punish during recovery, use Immobilize for damage windows. Using the Wandering Wight Spirit against him is fitting given their connection — and it works well.
After the fight you're returned to Bell #3's location.
⚠️ Look at the tree next to Bell #3 before going anywhere. A wolf corpse hangs from a branch — interact with it to collect the Fireproof Mantle Vessel. It grants fire resistance and complete Scorch immunity, and makes the final boss's fire phase far more manageable. This is permanently missable if you don't pick it up now.
For more detail, see our Elder Jinchi boss guide.
Black Wind Cave: Cave Interior
[IMAGE: Black Wind Cave entrance — stone tunnel into darkness, a large central pit with a tree visible just inside]
The entrance to Black Wind Cave is through the broken structure near where you fought the Whiteclad Noble. Head inside. There's a central pit with a tree — you can't fall in, so ignore it. The path immediately forks.
Take the left fork first. Climb the wooden scaffolding platforms on the cave wall. At the top you'll find Meditation Spot 3 (The Cliff) — your last free Spark in Chapter 1 — along with a Celestial Taiyi Pill that permanently increases your mana. Grab both before doing anything else.
[IMAGE: Meditation Spot 3 at the top of the cave scaffolding — Spark orb glowing at the cliff edge, the chasm below]
Return to the fork and take the right path. Wolf Assassins lurk in the dark sections ahead — they rush at you without warning. Pull them into lit areas before engaging if you can. Follow the path until you reach an open area where two Wolf Sentinels guard the shrine — they fight simultaneously, so be careful. Once they're down, rest at the Cave Interior Keeper's Shrine and open the large wooden doors ahead. Our Keeper's Shrine locations guide shows every shrine in the chapter if you've missed any.
Black Wind King
[IMAGE: Black Wind King in the temple arena — humanoid spear fighter, black wind energy swirling around him]
The Black Wind King has been waiting in this temple. He's the fastest, most aggressive boss you've faced all chapter — a spear-wielding humanoid who chains rapid combos and has a defining trick: he dissolves into a Black Wind Orb and charges through your position, then immediately reverses and charges back. Dodge through the first pass, then dodge sideways for the return. Most players dodge once and stand still — the return hits them every time.
Immobilize works cleanly once he settles after a teleport. Red Tides is effective during recovery windows. After the fight, you earn the Cloud Step spell — a decoy that lets you vanish into mist while enemies swing at nothing. Before leaving, loot the temple: there's an Agate Jar Curio in a chest by the courtyard and an Awaken Wine Worm in a glowing barrel on the right.
For a full strategy, see our Black Wind King boss guide.
Black Wind Cave: Outside the Cave
Activate the Outside the Cave Keeper's Shrine through the temple exit. From here it's a climb — wolves, sentinels, and Wolf Archers line the entire ascent. The archers are the most aggravating enemies on this stretch. Use Cloud Step to close the gap on them individually rather than drawing fire from multiple at once.
Halfway up, look for a path dropping left off the wooden platform — a hidden Wolf Assassin guards a chest down there with Yarn ×3 and Blood of the Iron Bull inside. Worth the detour.
Black Wind Cave: Bodhi Peak
Continue up the stone steps to the Bodhi Peak Keeper's Shrine — the last rest point in Chapter 1. Rest, equip your best gear, slot the Fireproof Mantle, and head up the steps when you're ready.
Black Bear Guai
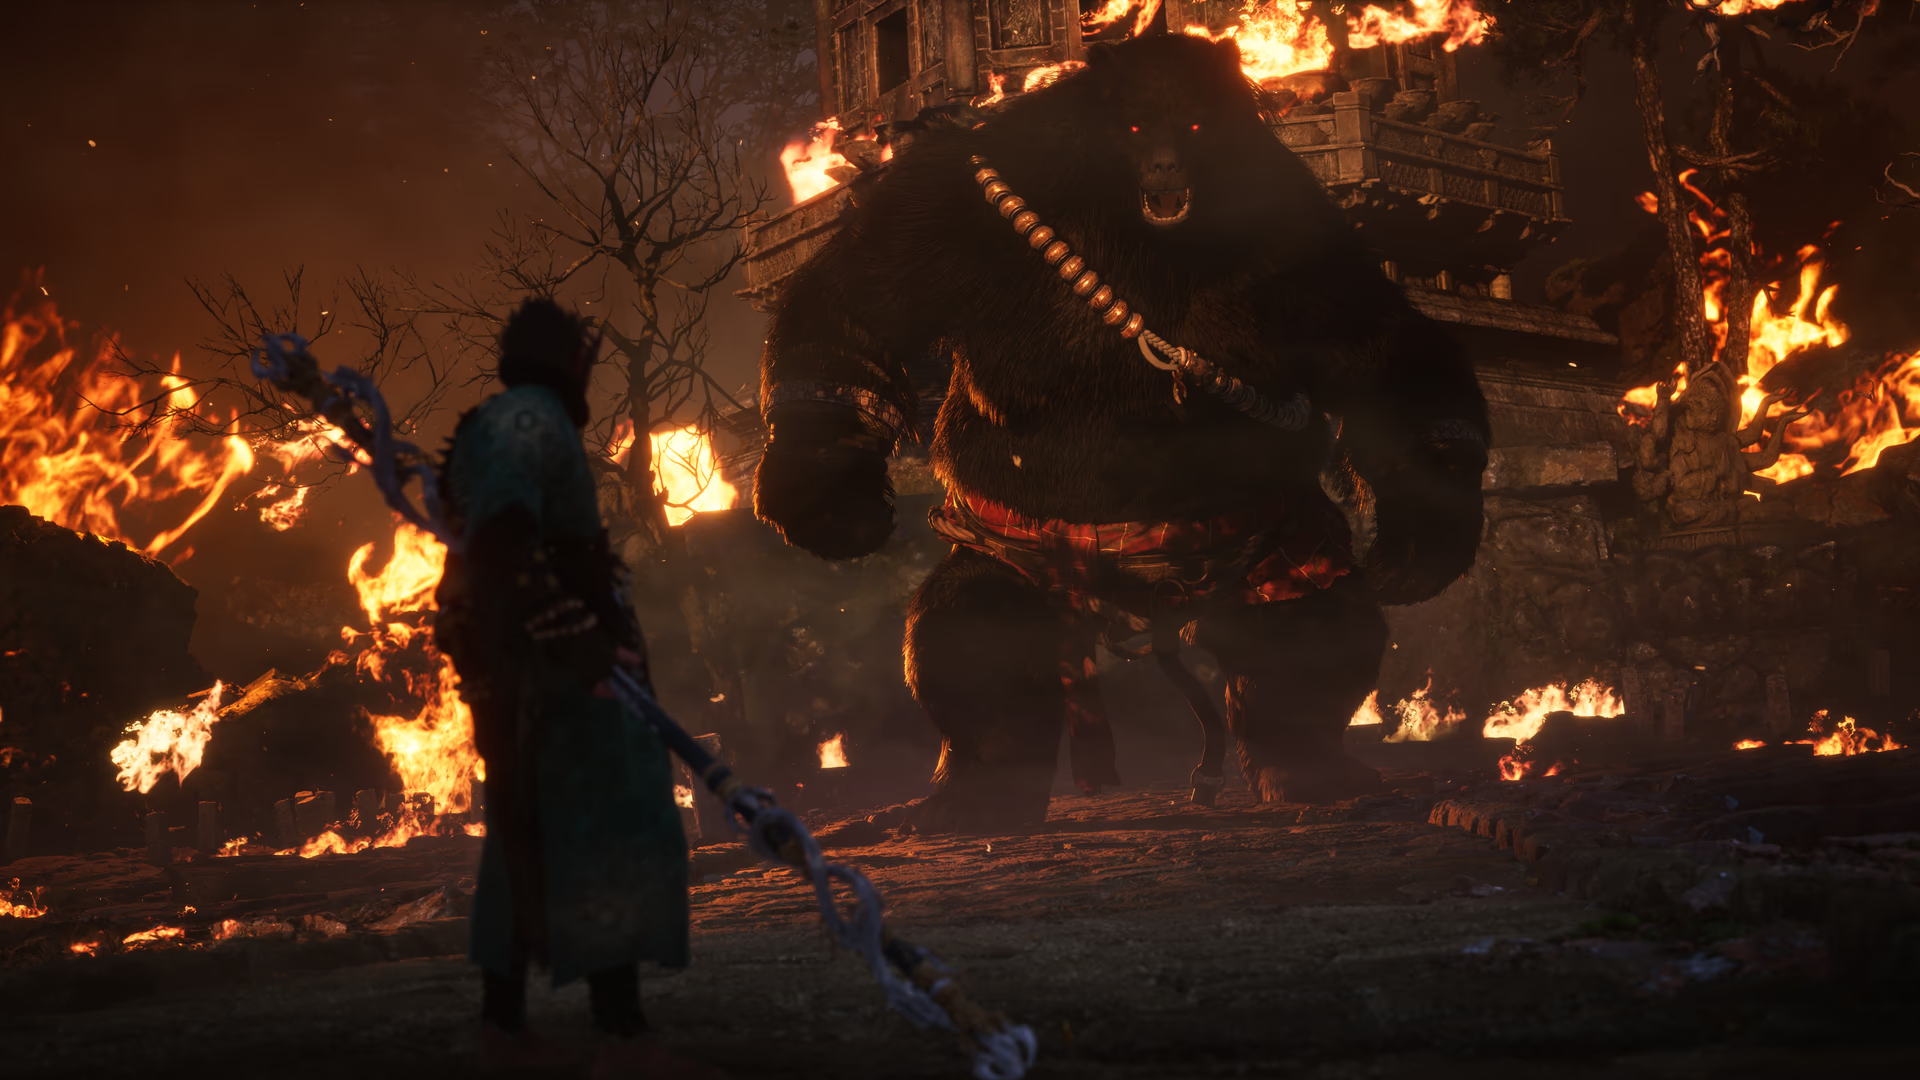
The mountain starts burning. A cutscene plays. Black Bear Guai — the true form of the Black Wind King — emerges from the fire.
Don't let his size suggest slowness. His claw combos chain quickly, he belly-flops from range with little warning, and when his health drops below 50% he adds the Black Wind form — the same charging orb from the last fight. Mechanics are identical: dodge through the first pass, dodge sideways for the return.
Activate the Fireproof Mantle as soon as fire pillars start erupting from the arena floor. It grants complete Scorch immunity and lets you move freely through the burning zones that would otherwise chip your health throughout Phase 2. Save Wandering Wight Spirit and Red Tides for Phase 2 — that's when you need burst damage most. Cloud Step is your repositioning tool when the arena gets too chaotic.
After the fight you'll receive the Craving Eyes Relic and a choice of passive perk. Opportune Watcher suits Focus builds, Eagle Eye suits spell-heavy play, Keen Insight suits critical hit builds. You don't need to decide immediately. Chapter 2 begins right after.
For a full strategy, see our Black Bear Guai boss guide.
Red Loong *(Chapter 2 return)*
[IMAGE: The waterfall near Outside the Forest shrine — Buddha statue to one side, sealed entrance at the base]
Near the Outside the Forest Shrine in the Forest of Wolves, a large waterfall marked by a Buddha statue hides a secret path. It's sealed on your first pass — to open it, you need the Loong Scale, an item from Chapter 2 (obtained by breaking a wall with the Wandering Wight Spirit in the cave where you fight the First Prince of the Flowing Sands). Return once you have it, interact with the waterfall, and you'll face Red Loong, one of the hidden dragon bosses in the game. His difficulty is tuned for Chapter 2 stats, so don't attempt this on a first run through.
For everything you need, see our Red Loong boss guide.
That's Chapter 1 done. For the next leg of your journey, head to our Chapter 2 walkthrough, or return to our walkthrough hub for all our Black Myth: Wukong guides.